Quick Reference
When to Start |
Direct seed in May when forecast shows no danger of temps dropping below 45 degrees.
|
Crop Rotation |
Avoid following peas or other types of beans
|
How To Plant |
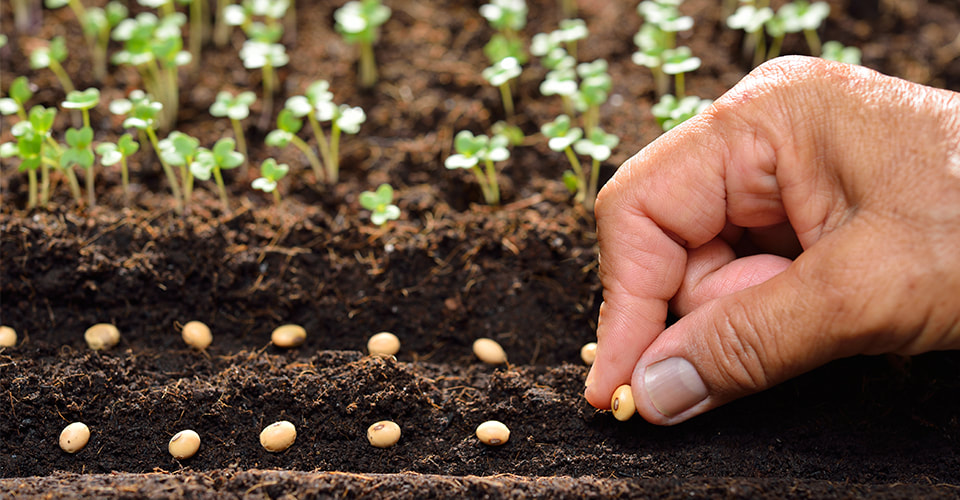
Plant seeds 1" deep in rows spaced 6-12" away from support
|
Spacing and Support |
Start seeds 3" apart on a trellis, or place poles 1' apart. Once they are tall enough direct the plant up the trellis or around the pole/twine
|
When to Harvest |
Once beans are the size of your pinky. Harvest early and often
|
Storage |
Smaller pods can be frozen whole. Once pods become overgrown let them dry out and the beans can be harvested like peas and stored in mason jars.
|
Pole Beans have become a favorite part of our garden at home. When planted against a trellis they grow quickly into a temporary privacy wall full of heart shaped leaves and colorful flowers. The other cool thing about pole beans is they are like growing 2 different things on a single plant. The whole pods taste best when picked young, but you can also let them grow over-sized and dry out to harvest the beans that grow on the inside. They are easy to grow, require hardly any maintenance outside of picking, and actually enhance the soil leaving behind nutrients for whatever gets planted there next year.
When To Start |
Direct seed in the garden after fear of frost has passed. Seeds will germinate when the soil is between 60-85 degrees, and optimal growing temperature is 60-65 degrees.
Personally we haven't quite gotten that precise where we are measuring soil temps before planting. Generally speaking we plant our pole beans around Memorial Day. |
Crop Rotation |
Avoid planting pole beans in the same spot that peas or any member of the bean family grew in the previous year.
For you forward thinkers out there, corn does really well when it follows pole beans. This is because beans and peas add nitrogen to the soil as they grow, something corn desperately needs to grow itself. Click here to read about crop rotation and why it is so important It's important to not only avoid planting the same crop in the same spot 2 years in a row, but you also have to avoid plants in the same family as they typically draw on the same nutrients and have issues with the same pests. Click here to learn more about plant families and find a chart showing which ones are related. |
Spacing and Support |
On a Trellis: We have had a lot of success growing pole beans up a trellis made of chicken wire. It allows you to grow a ton of beans in a small space and the vines grow straight up the fence with little to no help at all. Plant seeds every 3" spaced about 1 foot away from the trellis. You don't want to plant them too close because the trellis will shade the plants and stunt their growth. Once they are about a foot tall they may need some help grabbing on to the trellis and/or untangling them from the plant next to them. After they grab hold of the trellis the plant will do the rest of the work, growing upward in a counter-clockwise pattern wrapping itself around the support as it grows.
On a pole: They are called pole beans after all. If you don't want to build a trellis you can simply stick skinny bamboo or some other poles/sticks in the ground to support the vines. Place your poles about 1' apart and plant 3-4 seeds around the pole. Just make sure your pole is firmly planted in the ground before the seeds. They also sell some really cool tee-pees, obelisks, and other fancy objects to grow pole beans on. They would also do great on chain link fences or really anything with a similar pattern for the vines to grab onto. |
Harvesting |
Pole beans taste best when they are about the size on your pinky. The bigger they get from here, the more fibrous and less sweet they become. If you can keep up when they are young, the more you pick the more you will get. Once the plant has produced several large pods with fully grown seeds inside, it will stop flowering/producing. So the more you pick, the longer you can prevent it from getting to this stage.
Once you do get to the point where the pods are mostly overgrown, leave them on the vine to dry out as shell beans. Some time in early fall they should be completely dry to the touch and feel like paper. At this point you can pinch the dry pod and the hard beans inside should fall right out. If there is any moisture at all in the pods/beans it's too early to harvest as shell beans but they could be eaten like lima beans or edamame. |
What to do with way too many of them |
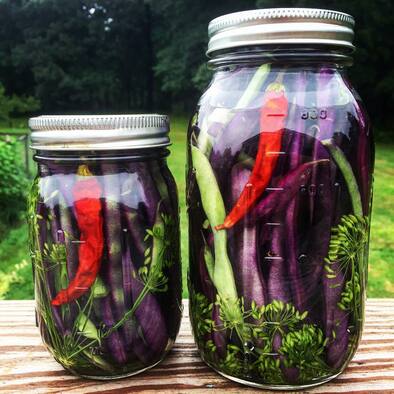
Pickle them: Believe it or not our kids actually fight over who gets the last couple pickled beans in the jar. They end up tasting just like cucumber pickles but they work better as a hand-held snack, especially for the little ones. If you toss some dill, garlic, or a hot pepper in the jar alongside they take on those flavors as well.
Freeze them: Pole beans do well in freezer bags. People will tell you to blanch them first - whatever that means - but we just cut the ends off and stick them in the bag. They will never taste great on their own again, but they are still great in soups and stir-frys. The trick is to not boil them first, just toss them in right from the freezer bag and they won't be as soggy. Save the beans: There is something strangely satisfying about shelling the beans out of the dried out pods, sort of like the garden version of popping a zit. Except this time you have about 1,000 zits to pop. The good news is once they are totally dry they can be stored in mason jars in your kitchen cabinets or basement. You can then use them in soups, chili, salads, or stir-frys. Just make sure to soak them overnight before cooking, otherwise they can be pasty and tough. |
