|
Truth be told we are probably a week late on this post. Most recommendations say to start pepper plants 8 weeks prior to the transplant date. Many of us in the north use the Memorial Day Weekend rule for when to plant our warm weather crops, which believe it or not is only 7 weeks away! Don't worry though, you still have plenty of time. 8 weeks from today is still only May 31st and you'll see a lot of places that recommend you don't transplant peppers until early June anyway.
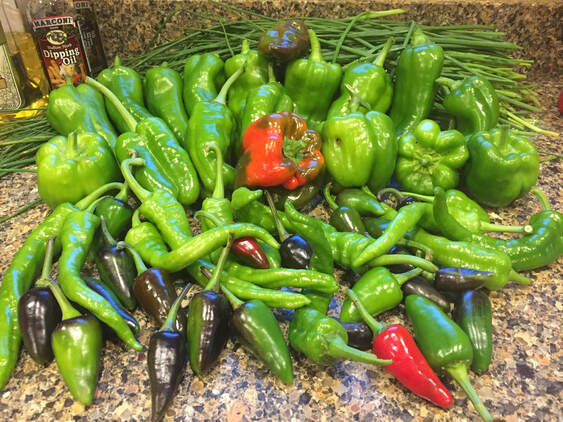
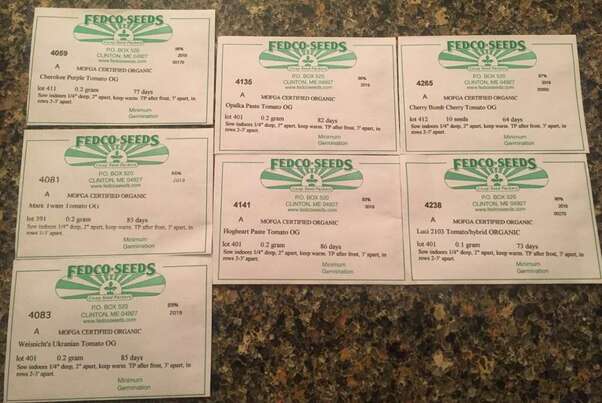
The instructions on how to start pepper plants from seed are exactly the same as starting tomato plants, so read this article for all those details. Just like tomatoes, starting peppers from seed will save you a lot of money and give you many more options to try vs. buying started plants at a greenhouse. For the price of a single pepper plant you can buy 2 packets of seeds that would give you about 60. In fact, we had so many seeds left over from last year that we didn't even need to buy any this year (we did anyway because we can't help ourselves). Just keep in mind that even the smallest packet available is likely to be more than you need, so don't overdo it. I wouldn't risk it on shipping at this point but you still have plenty of time to run out to the stores and grab some seed packets this weekend. If you're looking for some ideas on what varieties to plant, here is what we are going with this year: When most people think of starting their own garden, tomatoes are probably the first thing that comes to mind. While anything you can grow yourself will be a better option than buying it at the grocery store for a number of reasons, you most likely won't be able to tell any big difference in taste. One major exception to that is tomatoes. There is no comparison between a home grown tomato and one purchased at a store. If you are like us you want a lot of tomato plants in the garden this year. We typically plant around 20 depending on how much space we have. Only problem is that can get pretty expensive. At Home Depot for example a tomato plant that comes already started in a 4.5" pot goes for $5, so for 20 plants we'd be dropping $100 on just tomatoes. That might be the best or only option for some, but for the rest of us that would probably be a little more than we were looking to spend on just tomatoes. So how can we have our tomato flavored cake and eat it too? Start from seeds. That means you would have to start them within the next week or so, but if you're willing to put in a little time and effort now you can have those same 20 tomato plants for $5. Here's how...
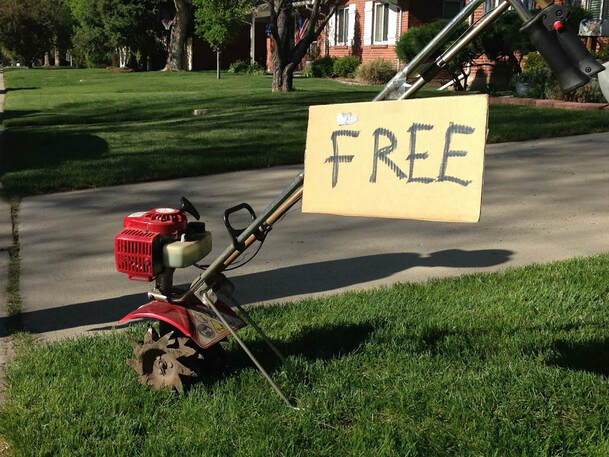
It is early Spring, the ground can finally be worked, and all across the northern hemisphere people are getting ready to rototill their gardens. What they don't know is they are actually decreasing the quality of the soil with all that hard work. Rototilling might be the best option when trying to break ground on a new garden plot, but if you're continuing to rototill the same dirt over and over again you are actually doing more harm than good. Here's why:
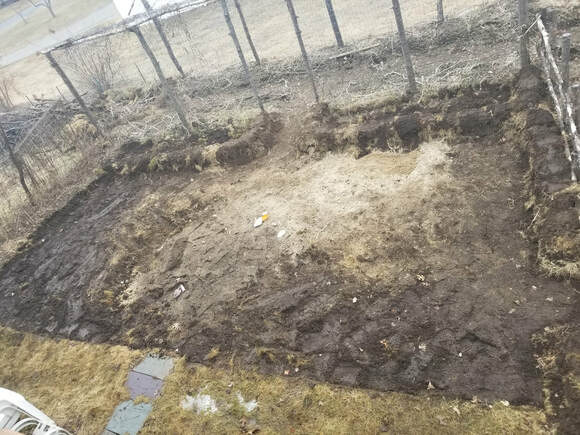
You may be just about to dig out your very first garden. If so we are really excited for you and would encourage you to check out all the information we have for beginners on our Garden page. You probably feel a little behind when talking to experienced gardeners, but did you know there is actually a place you have an advantage over them? Even better, it's the answer to your question of "what do I do with all this grass when I dig it up?"
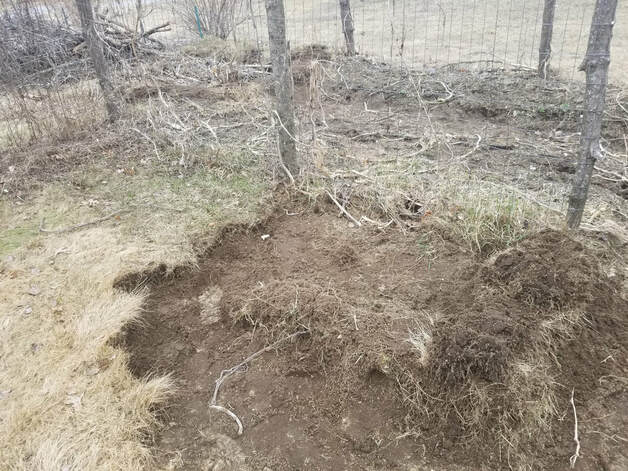
Try using the grass chunks you dig up to make a natural raised bed or compost pit. As you dig out each chunk, arrange them into a square or rectangle and then just keep piling more on top until you hit the desired height or dig up all the grass. At that point you can fill in the hole with new dirt and you have a beautiful raised bed, or you can toss in your compost and use it like a compost bin. I have used this method a number of times and it works out perfectly, with an added bonus of not having to haul off the grass chunks into the woods an acre away. You'll notice all planting instructions reference how deep to plant the seed under the soil. If you're only planting one kind of seed you can probably measure once and then eyeball the rest and do just fine, but what about someone who needs to plant many different varieties of seed, and lots of each type?
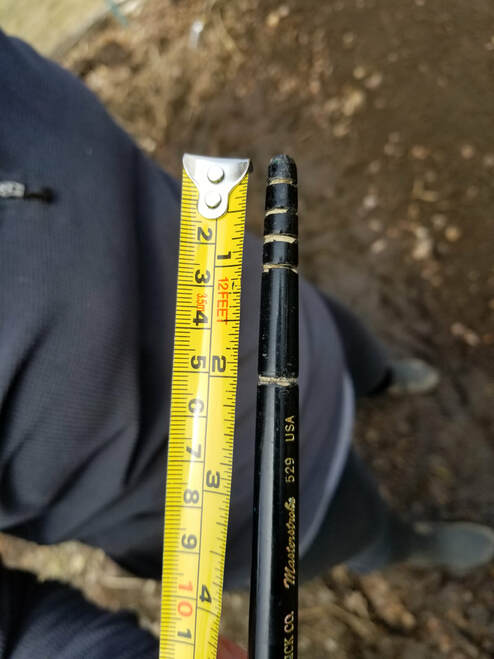
If I was a terrible millennial I would call this a "garden hack", but since I'm not I'll just tell you about it. In this case we used an old paintbrush but you could really use anything. Just score a line every 1/4" and then all you need to do is just poke little holes in the dirt down to whatever line you need to. Ink will smudge off in the dirt so it's best to use something made of wood you can carve into with a knife or thin blade. We used to just wing it and poke little holes with our fingers but this actually makes it easier and of course much more accurate. "Opening Day. All you have to do is say the words and you can feel the shutters thrown wide, the room air out, the light pour in." This is a quote by columnist Mary Schmich where she is talking about baseball (Yawn....wake me up in October), but it applies just the same to gardening. There is no feeling like finally being able to get your hands dirty again after so many months of day dreaming and planning for this day. You might be excited to try something new or eager to prove that you learned your lesson last year and that this is the year you finally do things the right way. No matter what you're doing, it's just great to be doing something...anything outside again.
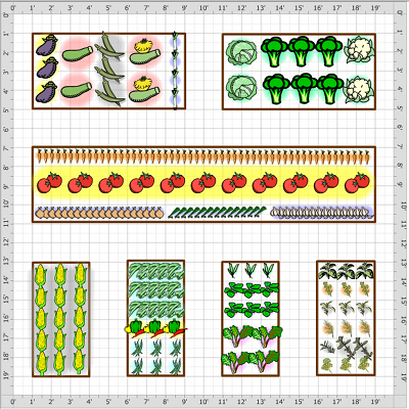
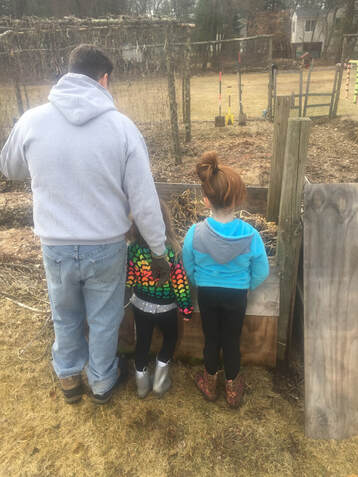
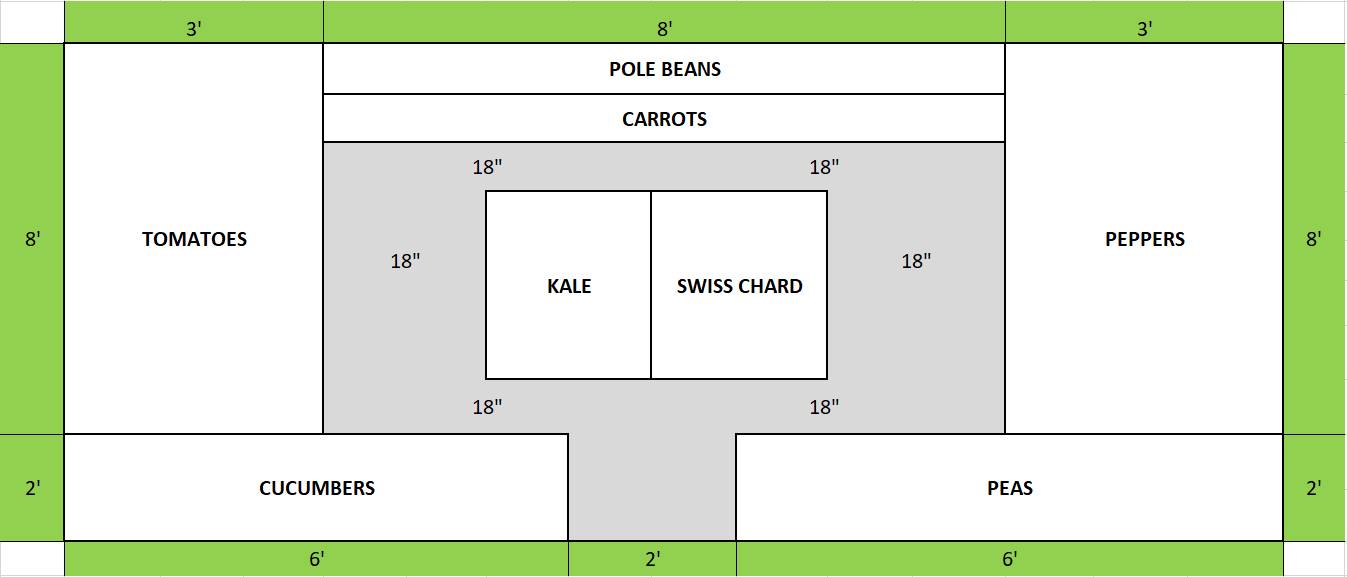
So what did we do? First step was to pop open the compost bin and see what we had to work with (Check out our photo gallery to see that process for yourself). We were able to get more than enough compost for a spring planting and the rest will be sitting until late May. We planted an 11' row of Organic Oregon Giant Snow Peas. We have planted these in the past and had good success with them. The pods are huge as the name would suggest however the vines only grow 3-4' high, so these are a great option if you want to plant peas but don't have a huge trellis or fence for them to grow on. For full details on how to plant peas in your own garden, click here. We also planted a row of Organic Windsor Fava Beans right in front of the peas. It was a wide bed and since the peas grow tight to the fence and straight up we wanted to maximize space by planting a row of something else along with them. Since fava beans were ready to plant at the same time we thought that would be a good companion for them. We have never tried these before so why Fava beans? For one, you can plant them ASAP. The other reason is their protein content, especially important for those of us who have switched over to a plant based diet. 1 cup of fava beans has 10g of protein, about as much as you would get from 2 eggs. They are also high in iron and fiber. If you're familiar with lima beans they are very similar, however lima beans are not cold tolerant so for us northern gardeners fava beans are the way to go. Find instructions for planting your own fava beans right here. We had bigger plans in mind but parts of the beds we wanted to plant our greens in were still frozen. As always the garden is a great metaphor for life. Sometimes things don't work out exactly as you had planned but you just roll with it and do what you can. Still feeling like we accomplished a lot and very happy to say the 2019 garden is officially underway! Stay tuned for more updates as we go along. We have already started getting lots of great questions through our Facebook page, and the most common one so far is some variation of "What should I grow?". Ultimately it comes down to 2 things: 1) How much space do you have? 2) What will you actually eat? There is no right or wrong way to go about this, so if you have something in mind give it a try and see how it works out. The great thing about gardening as a hobby is nobody is going to starve if you make a few mistakes. But if you're interested in breaking ground on a new garden and have no idea where to start or what to grow, we've created this simple garden template that will both be manageable and give you a constant stream of fresh vegetables from June-November. In theory you could follow it exactly but it's really meant more as a starting point for you to adapt based on your own space and preferences. Continue reading to find out what you'll need to get this up and running.
|
Growing Ambition BlogWe'll cover a number of topics here from environmental issues to plant based recipes and everything in-between Archives
March 2020
Categories
All
|
 RSS Feed